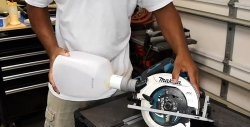
Very often a welding machine needs to be taken for field work and a difficulty arises: how to move it compactly so as not to damage it and keep the electrodes intact? Most welding models do not have a case or special bag. But you can do it yourself.

What you will need:
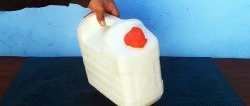
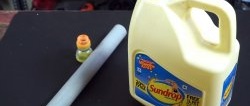
- 25 liter olive oil canister, yellow;
- Bulgarian;
- Screwdriver;
- Remains of laminate or board, 1 - 1.5 cm thick;
- Self-tapping screws;
- Plastic plumbing pipe 50 mm in diameter and canister height;
- 4 small sheds.
Long-lasting discs for angle grinders on AliExpress at a discount - http://alii.pub/61bjly
Before starting work, you need to prepare the canister: degrease its surface with a rag soaked in kerosene or degrease.
Making a case for carrying welding equipment
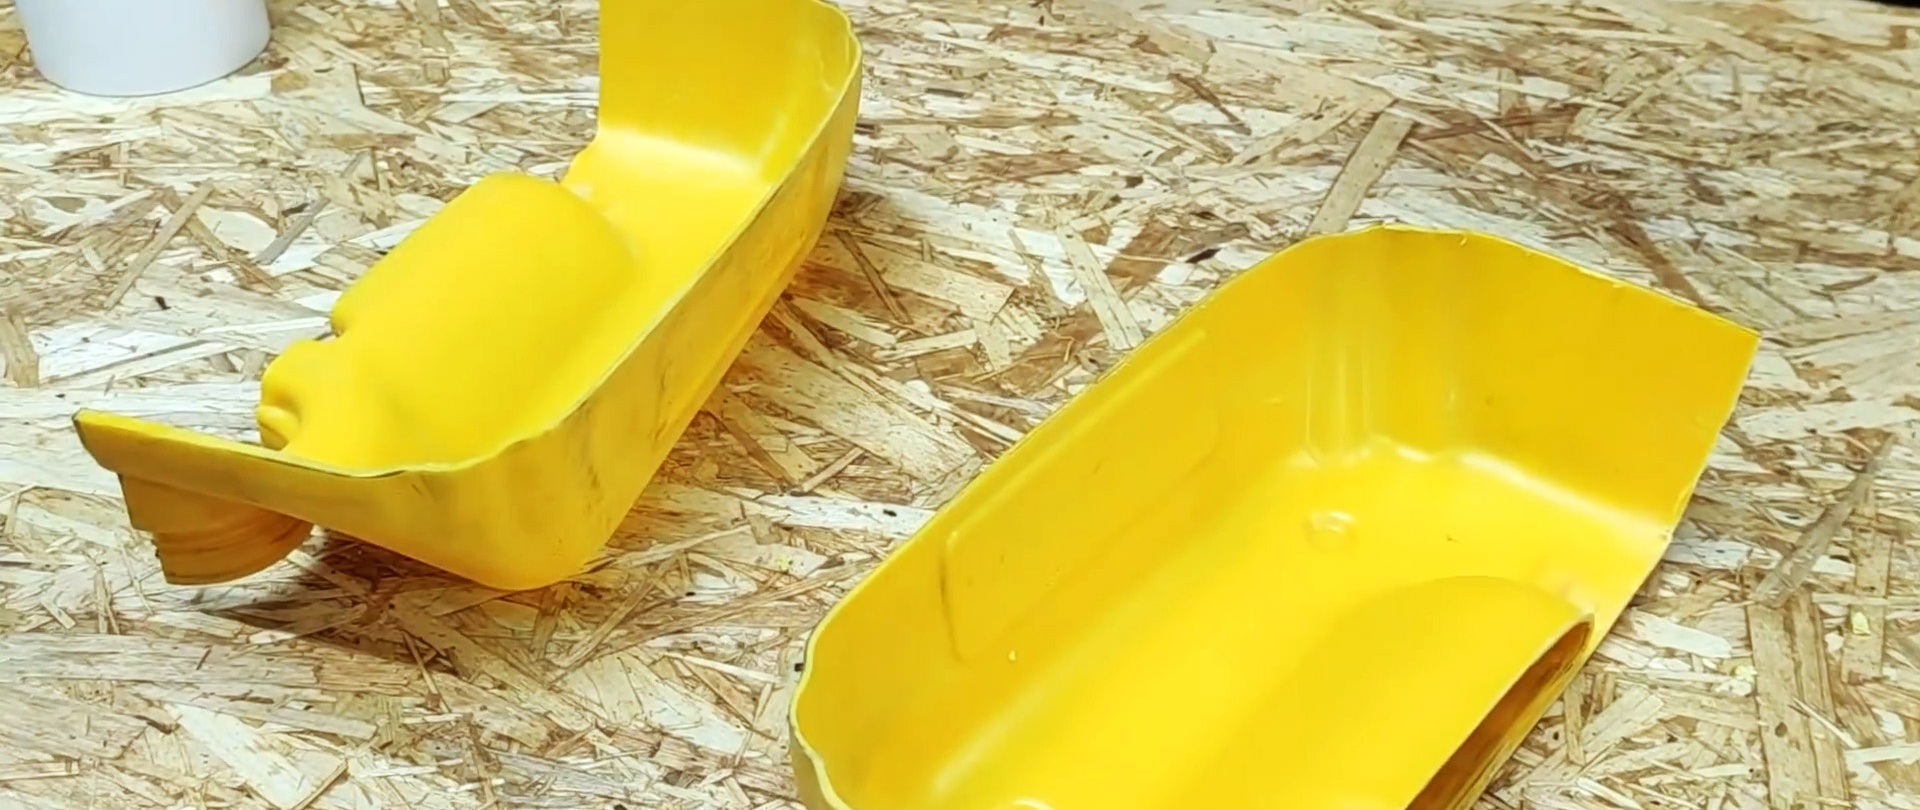
Use a marker to draw a straight line around the entire perimeter of the canister. It would be good to run it along the upper protrusion on the body of the canister. You can use a special tripod to secure the marker. With its help you can create a straight line along the entire body. After marking, use a grinder to cut off the upper part along the line.The two parts of the canister need to be wiped again with a rag inside to sweep away any shavings from cutting the plastic.

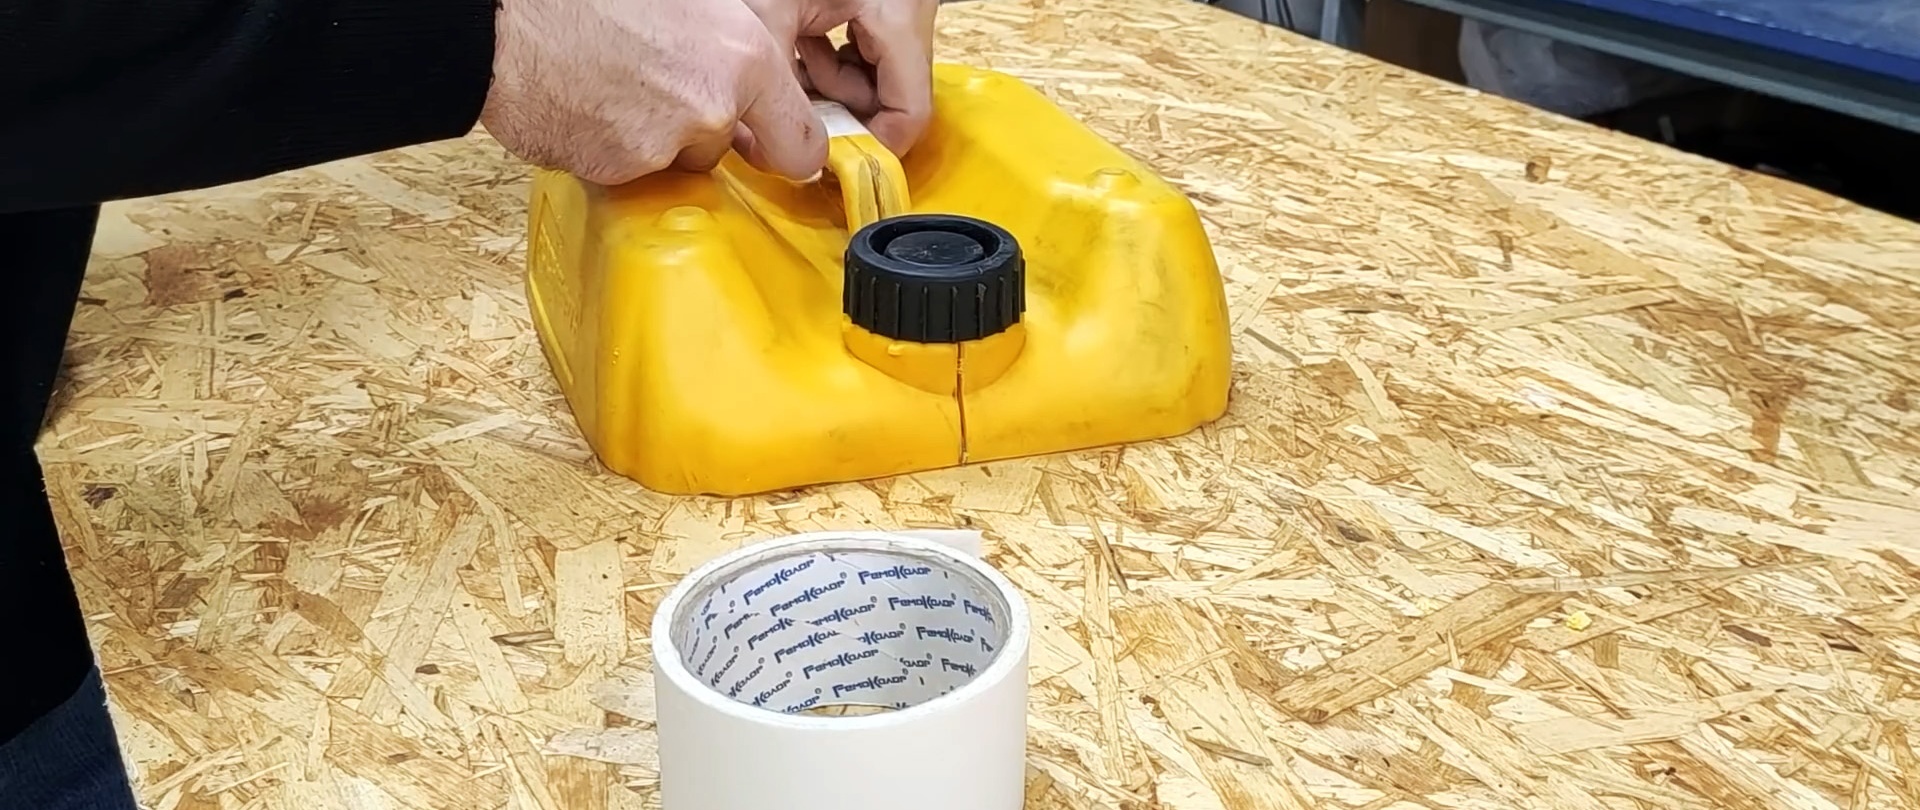
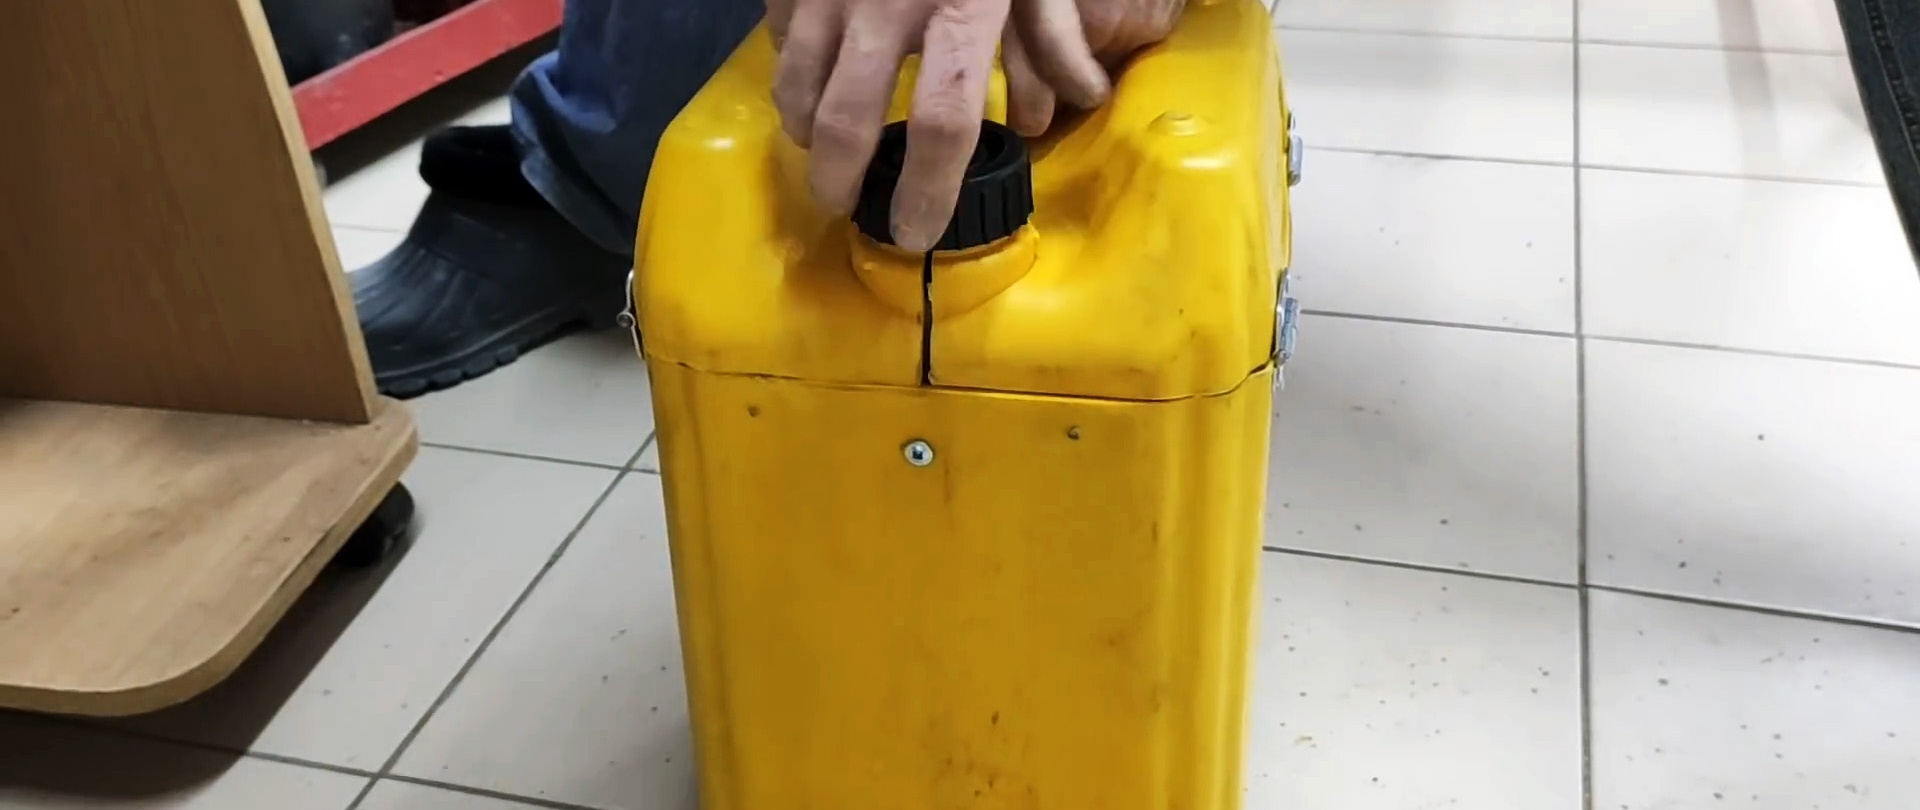
The top part needs to be cut in half along the plastic weld line. To do this, you need to mark a line along the entire length - along the handle and through the neck. Using a square can do this faster and more evenly. After this, you need to use a grinder to cut this part of the canister, but leave the lid intact.
You need to screw it onto the neck of the two parts and temporarily connect them: you can wrap the handle of the canister with masking tape, and use hot glue to connect the halves at the bottom.
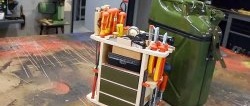
A strip of laminate or board needs to be dissolved into strips measuring 2.5-3.5 cm. After this, you need to measure 4 pieces on it, equal in length to the length of the side of the canister. The output should be 2 longer parts and 2 short ones.
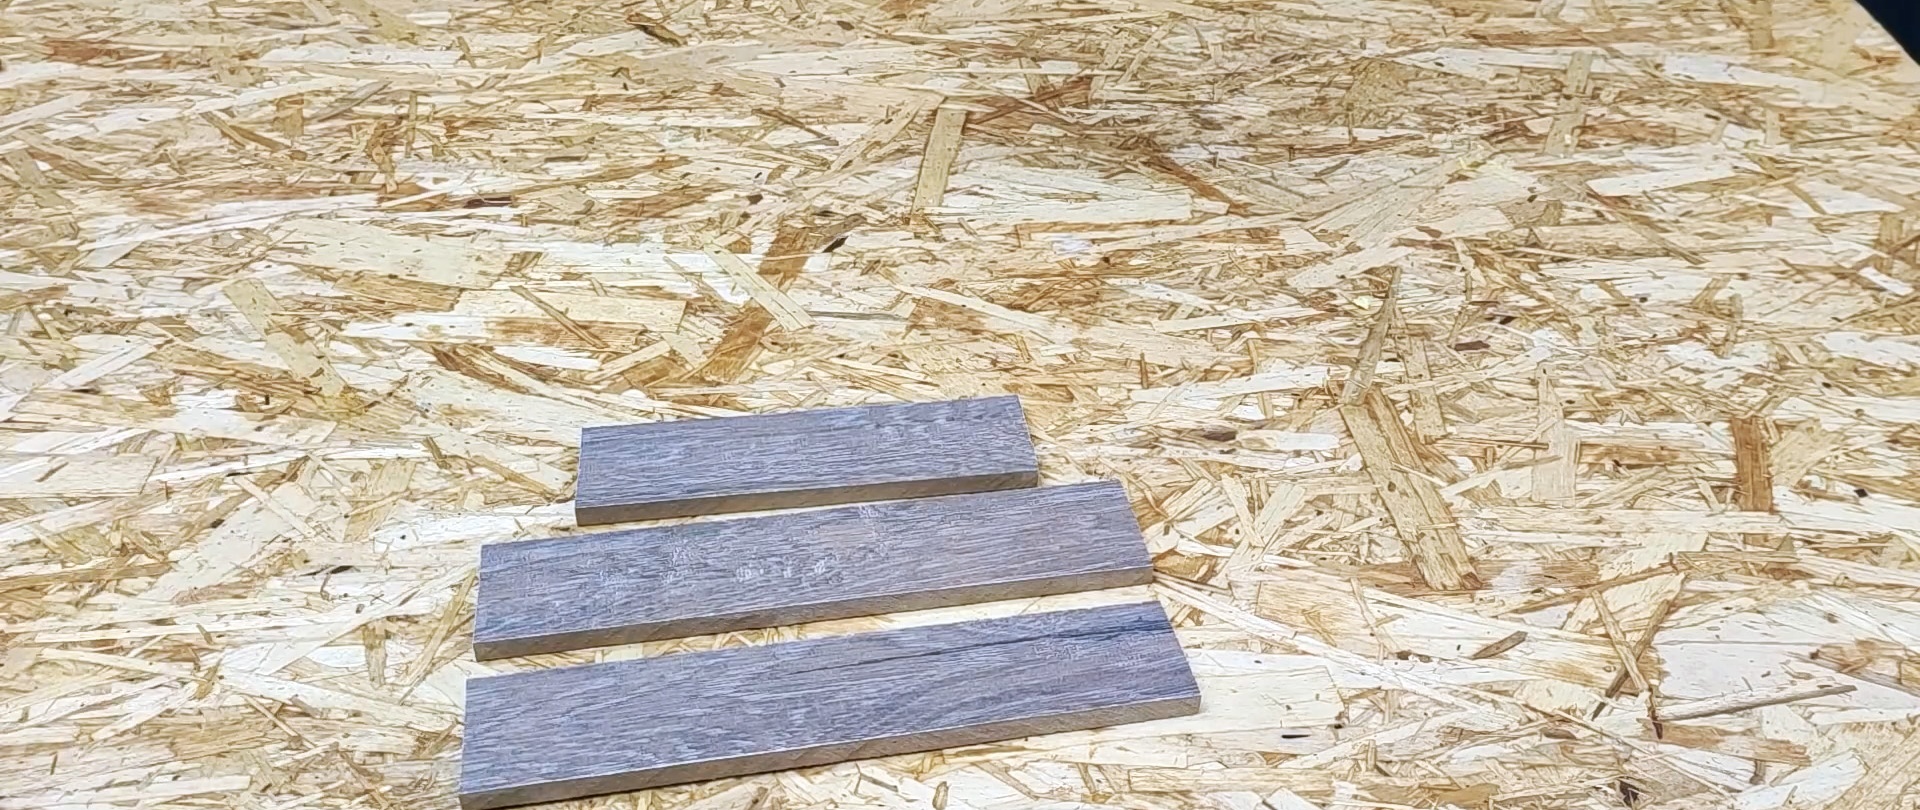
They need to be screwed with self-tapping screws from the inside of the canister along the upper edge so that the self-tapping screw comes out. Its excess length can be removed with a grinder, cutting it exactly along the plastic.

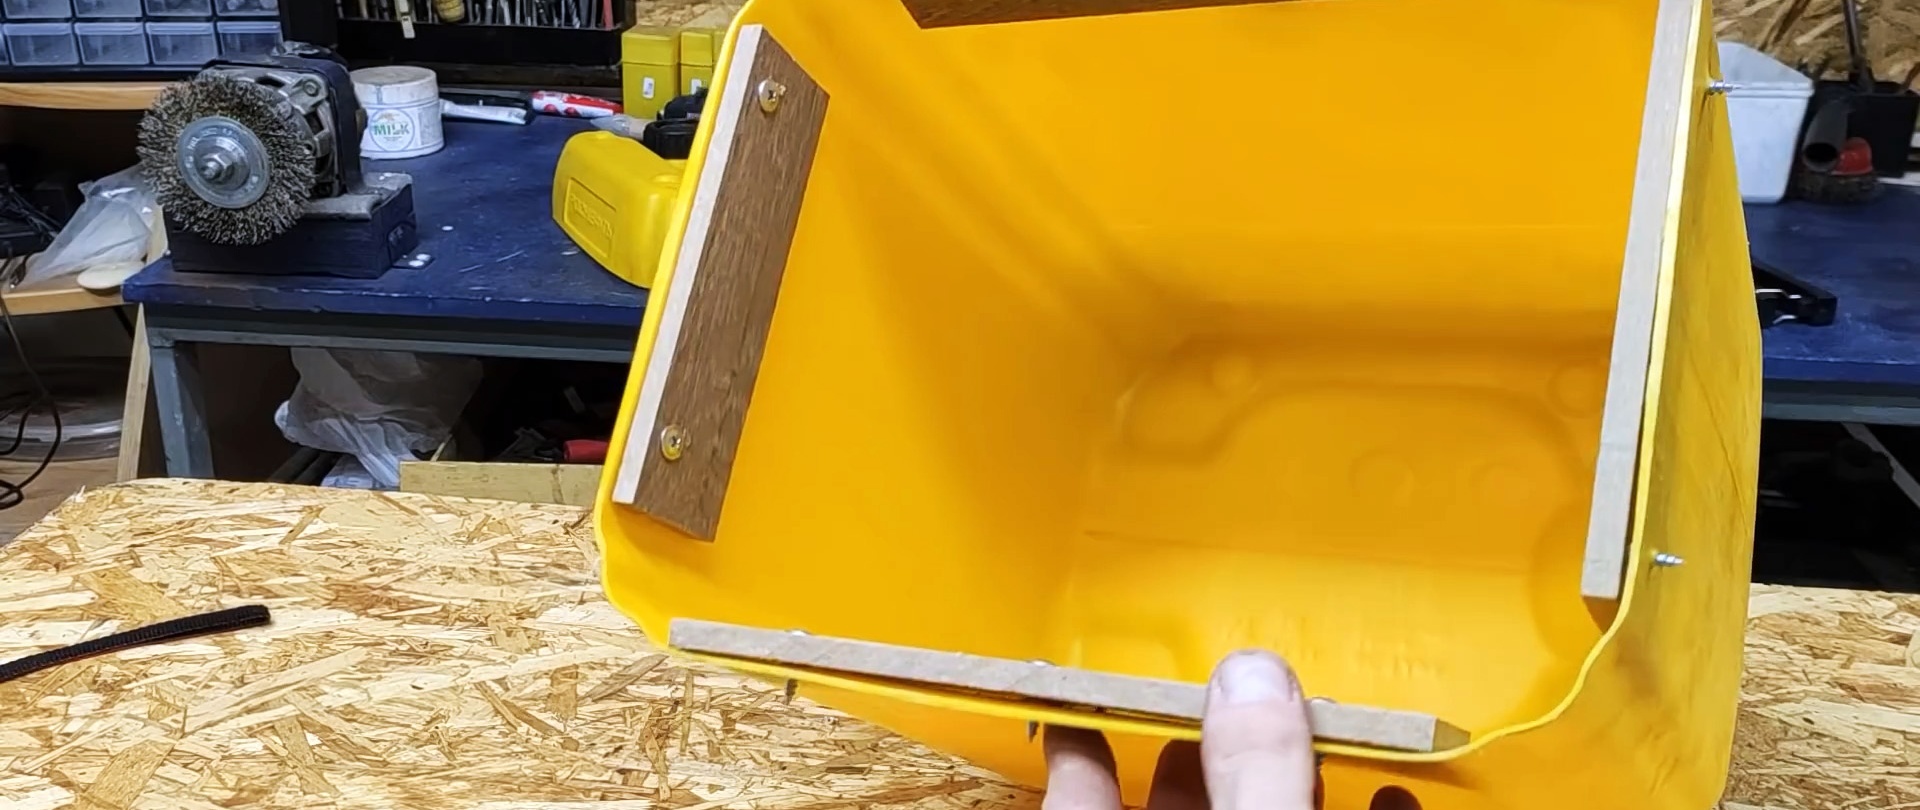

Before starting the next step, you need to temporarily connect the upper and lower parts of the canister. You need to place the top as accurately as possible and use hot glue to connect it pointwise in several places. This will help you make more accurate markings for attaching awnings. The hinges must be screwed onto the long sides of the canister so that the upper halves open in both directions.
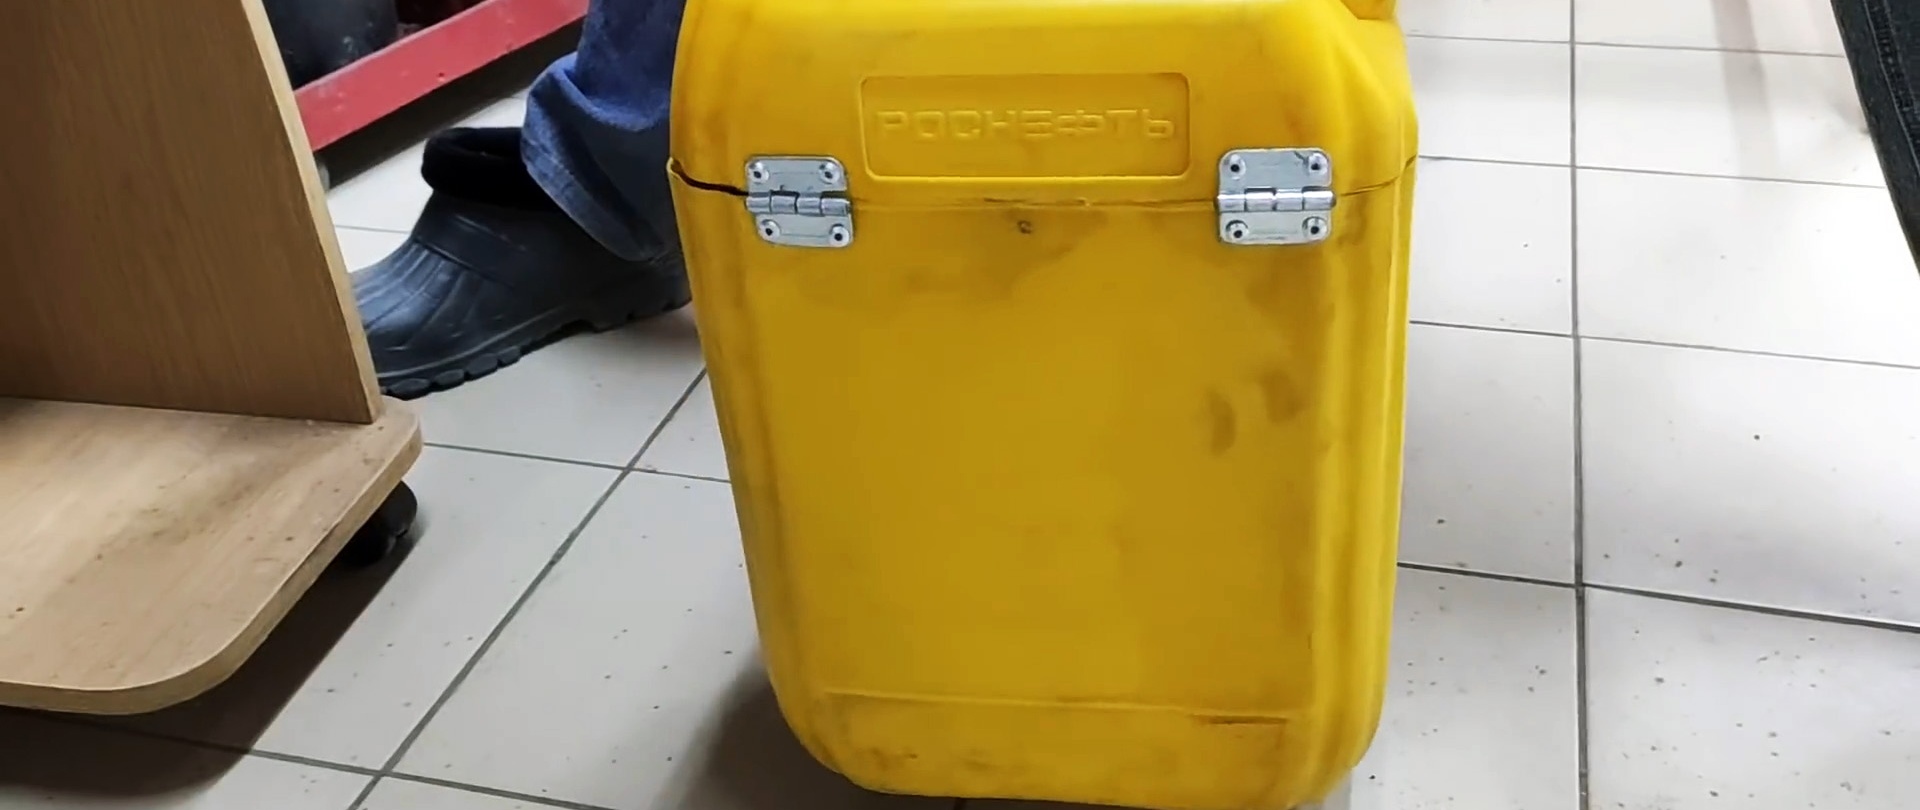
The canopies are fastened with rivets, so you need to drill holes for them.

To prevent the plastic from bursting at the top while tightening the rivet, you can place a small washer inside. It will provide additional reliability and strength to the connection. Once the canopies at the top are secured, you can connect the top to the bottom.Thanks to the installed strip at the bottom of the awnings, there is no need to use a backing or washer.
A plastic plumbing pipe must be screwed into the center of the side of the canister so that its edge fits into the two halves of the neck. To secure it, two screws will be enough - at the top and bottom of the pipe. You need to tighten the screws on the outer part of the canister.

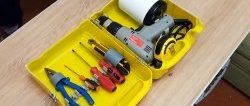
A ready-made suitcase for storing and carrying a welding machine will help you store the tool safely without worrying that something might damage it.


The wires of the device, a protective mask and electrodes - all this is placed in one set, so when leaving for work there is no chance of forgetting something.
Welding electrodes for general purposes on AliExpress at a discount - http://alii.pub/606j2h