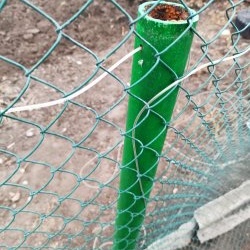
On a farmstead or summer cottage, it is often necessary to fence off the area, assemble cages or enclosures for keeping animals, etc. Buying chain-link mesh in a store will require considerable expenses. But you can make it yourself using a simple mechanism, and this does not require special skills or expensive materials.

Will need
Materials:
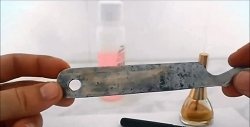
- steel bar with a diameter of 1 cm;
- profile rectangular pipe;
- metal paints;
- rotating handle;
- steel wire with a diameter of 4 mm;
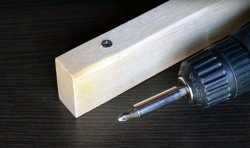
- board with nails, etc.
Tools: tape measure, magnetic clamp, welding, hammer, grinder, pliers, vice, drill, wire cutting scissors, etc.
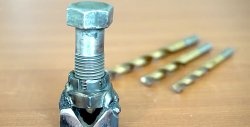
High-quality and durable drills on AliExpress at a discount - http://alii.pub/5zwmxz
Making a mechanism and weaving a chain-link mesh from 4 mm steel wire on it
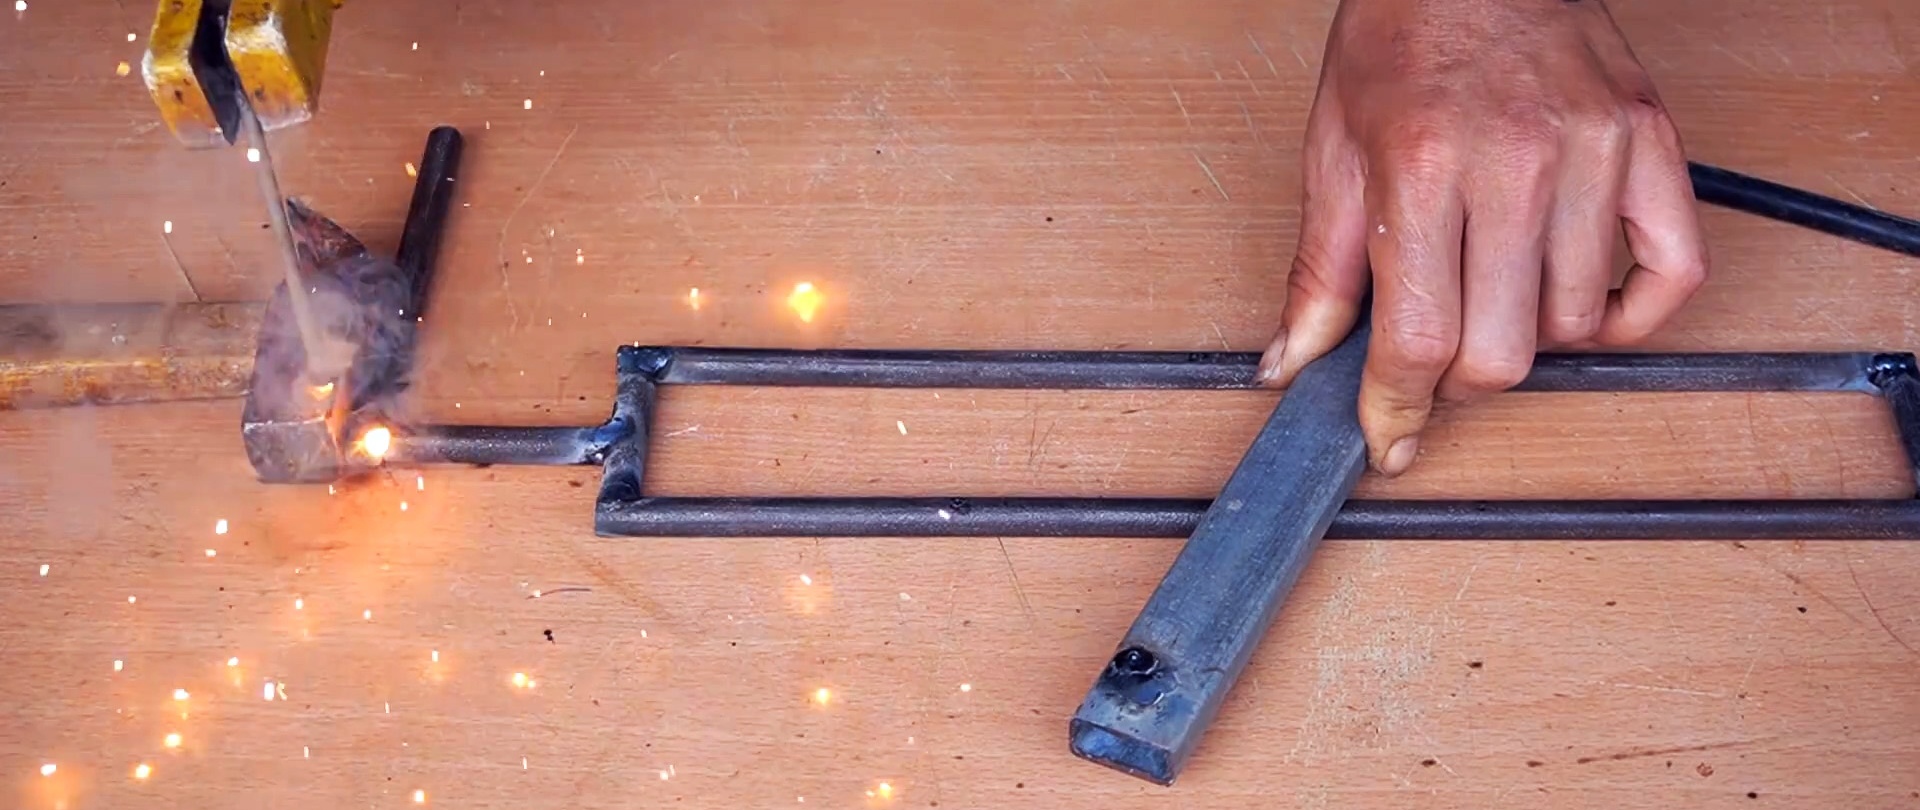
We cut two pieces 35 cm and 5 cm long from the steel bar.

We weld them into a rectangular frame 7 cm wide. This will ensure the mesh size of the chain-link mesh is 7 cm.

To the center of the short side of the frame we weld a handle welded from three elements cut from the same rod as the frame. To the other short side of the frame, we also weld a rod from the same rod perpendicularly in the center, which we then shorten to size.
Welding electrodes for general purposes on AliExpress at a discount - http://alii.pub/606j2h
We clean the welds with a grinder.

We measure 2 cm from the ends of two profile rectangular pipes 20 cm long and draw a line parallel to the ends of the pipes. From this line on one pipe we draw two lines perpendicular and symmetrical, 1 cm apart. We cut out rectangular sections in opposite directions, bounded by these three lines. In the second segment, drill a hole with a diameter of 1 cm from the top, tangent to the line.
Long-lasting discs for angle grinders on AliExpress at a discount - http://alii.pub/61bjly


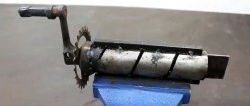
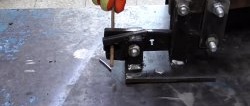
We install the profile pipe with the hole up and inward at the end of the third workpiece from the profile pipe and weld it in this position. We insert a “branch” of the frame into the hole in the vertical post and install a post with rectangular slots under the horizontal section of the handle welded to the frame at the other end. Using a magnetic square, we set a right angle between the stand and the base and connect them by welding.

We press a section of the same pipe, but shorter, to the side of the base profile pipe at the level of the end, and weld them. We return the frame to its place and, so that it does not jump out of the slots in the rack when rotating, insert a pin into the holes of the rack above the axis.

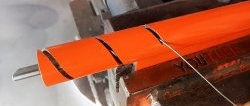
We paint the mechanism in two colors, put a rotating handle on the handle axis and test it in action.
To do this, insert the end of the steel wire into the frame and rotate the handle.At the same time, we wind the wire around the frame, pressing the turns one against the other with our hands until we fill its entire length.


We cut the wire on the frame from the coil using scissors for cutting. We take out the pin, remove the frame with the wound wire from the racks and release its end from the frame.

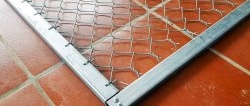
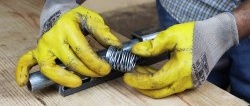
We make a hook at the end of the wire and hook it to a nail driven into the board. We pull the frame along the board and stretch the turns of the wire so that the bends are at 90 degrees. Having reached the required length, we cut off the stretched part of the turns from those still on the frame.

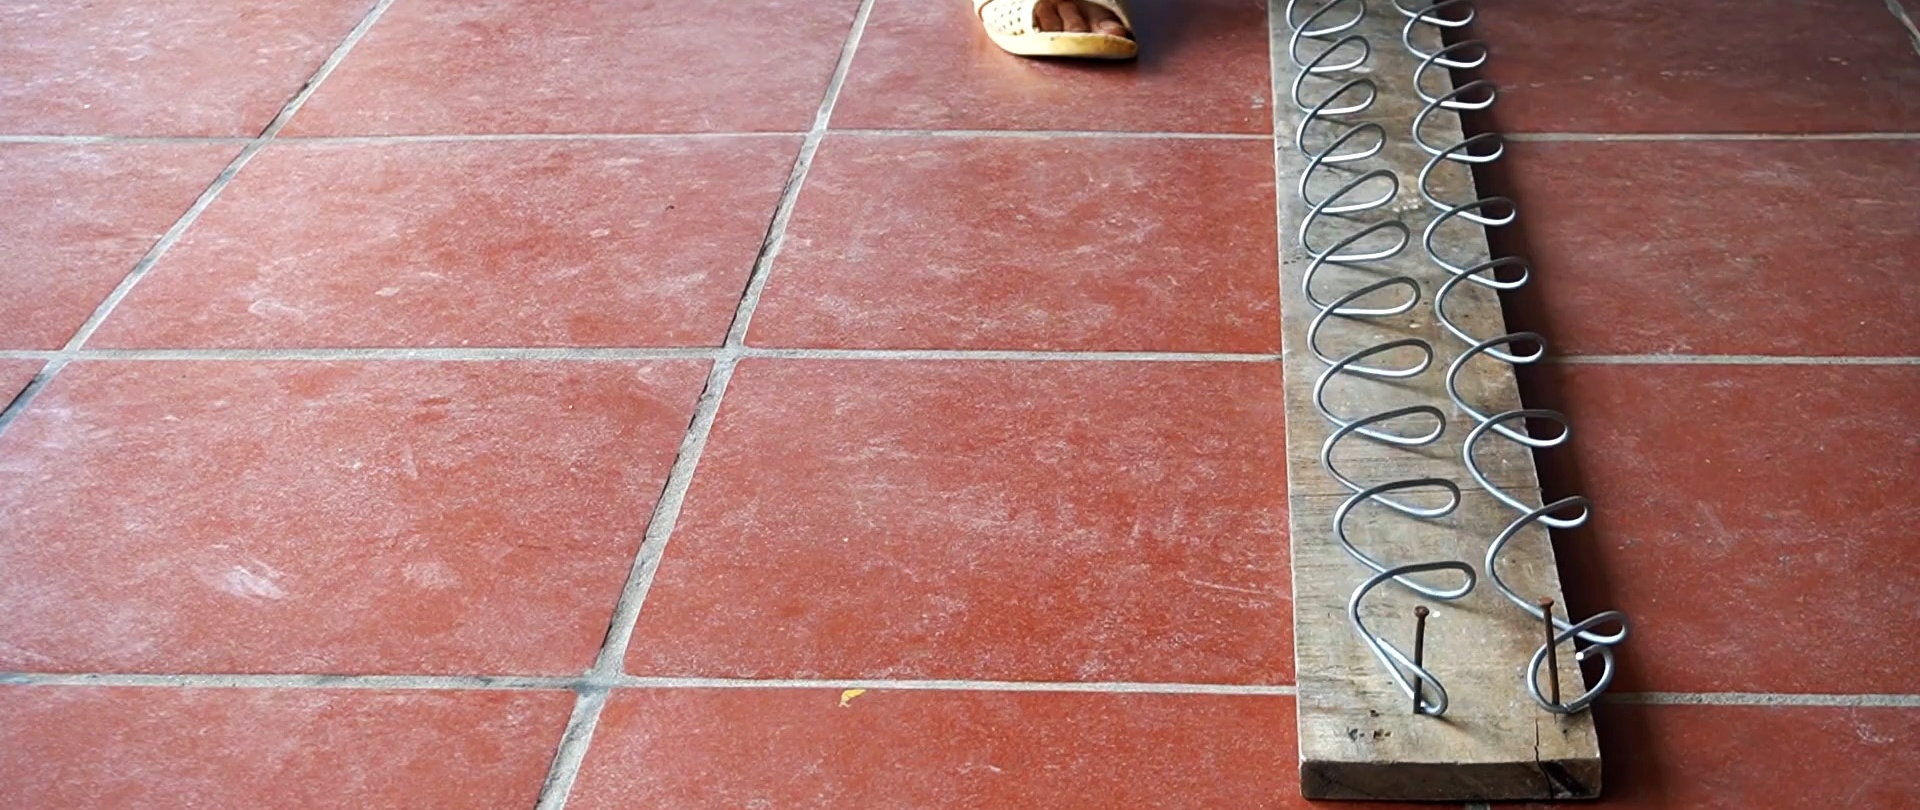

To make the coils come off the frame more easily, tap them with a hammer. In this order, we carry out as many blanks as required. We connect the blanks by weaving them into each other by rotating one of the blanks around its axis, like screwing. As a result, we get a netting mesh fabric 120 cm wide, cells 7 by 7 cm and the required height.