Materials:
- strip or sheet metal with a cross-section of 4 mm or more;
- profile pipe 30x30 mm;
- corner 40x40 mm or more;
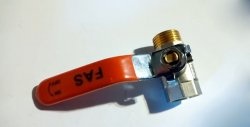
- grinder handle;
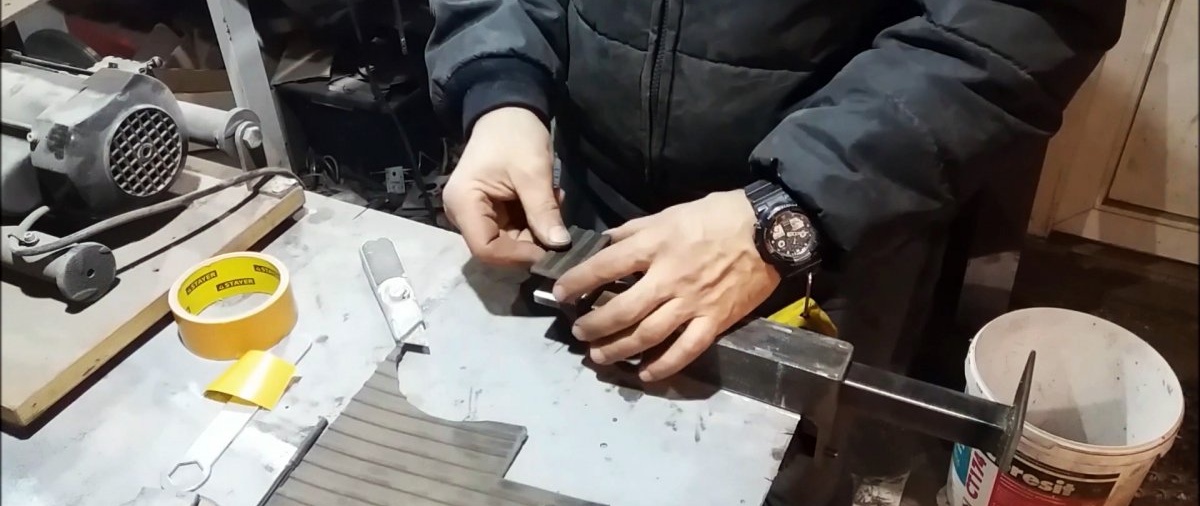
- rubber for cutting out the lining.
Reverse hammer manufacturing process
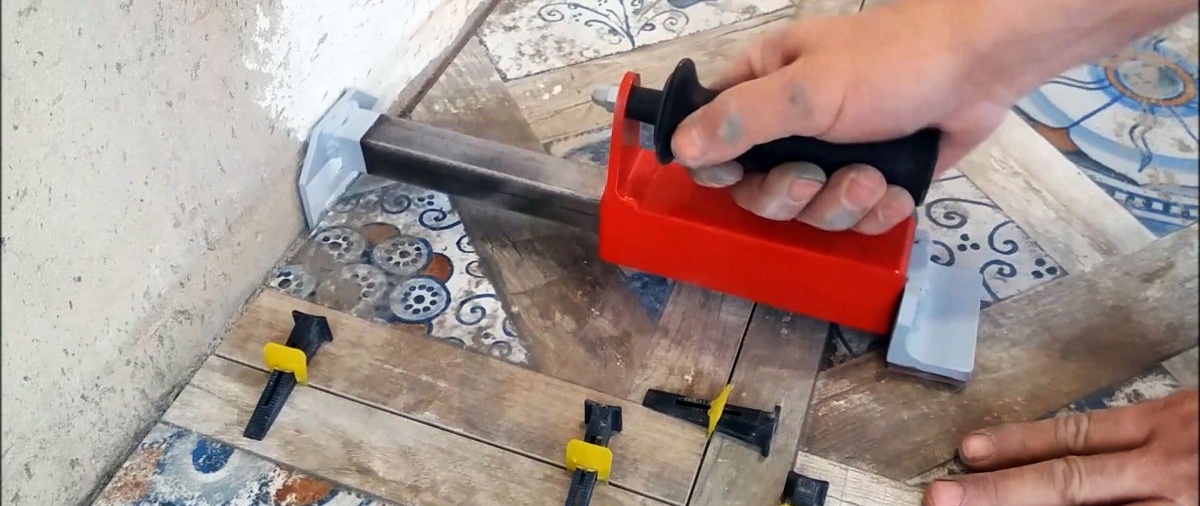
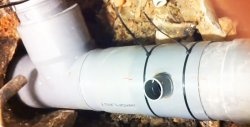
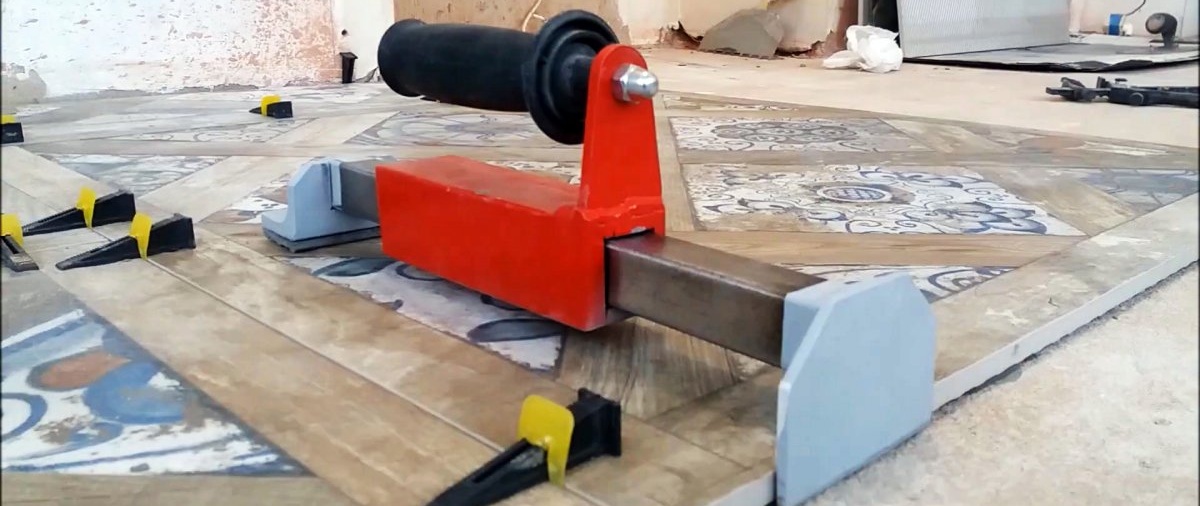
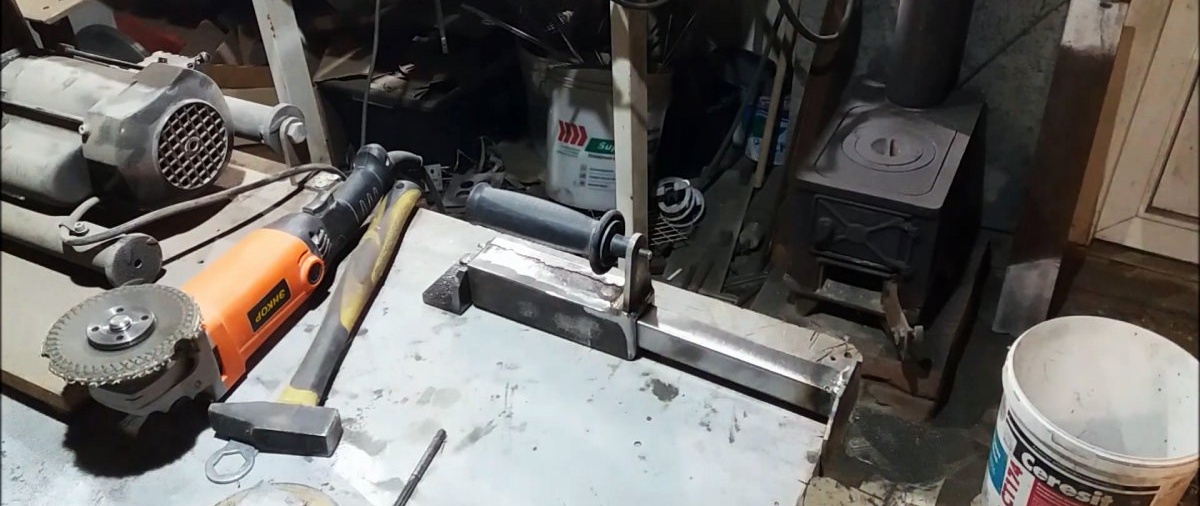
A reverse hammer is a piece of profile pipe with a blade and a stop along the edges. A short profile of larger diameter with an attached handle is put on the main pipe. When the latter moves sharply, it slides along the main pipe, hitting its stop, thereby moving the device along with the tile to which it is attached. For a reverse hammer to work properly, even with large-format tiles, it must be made of thick metal to increase its mass.
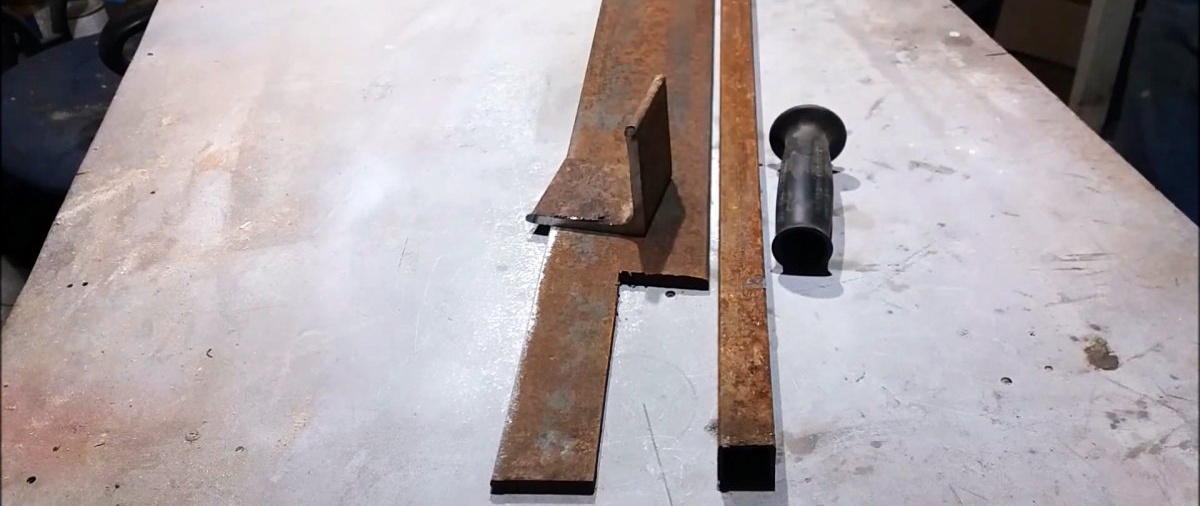
For the base of the hammer you will need a section of profile pipe 30-40 cm.
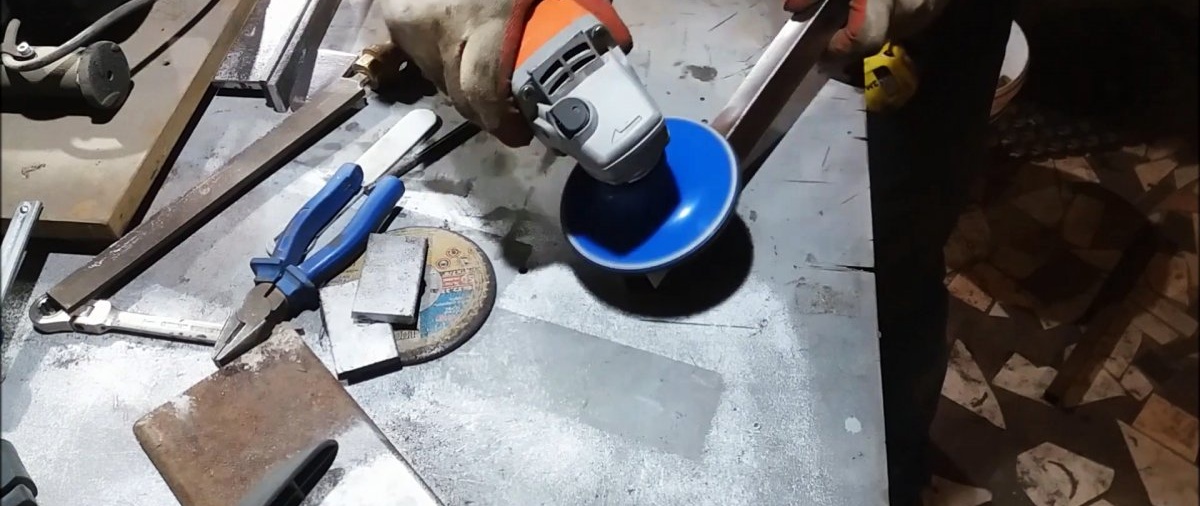
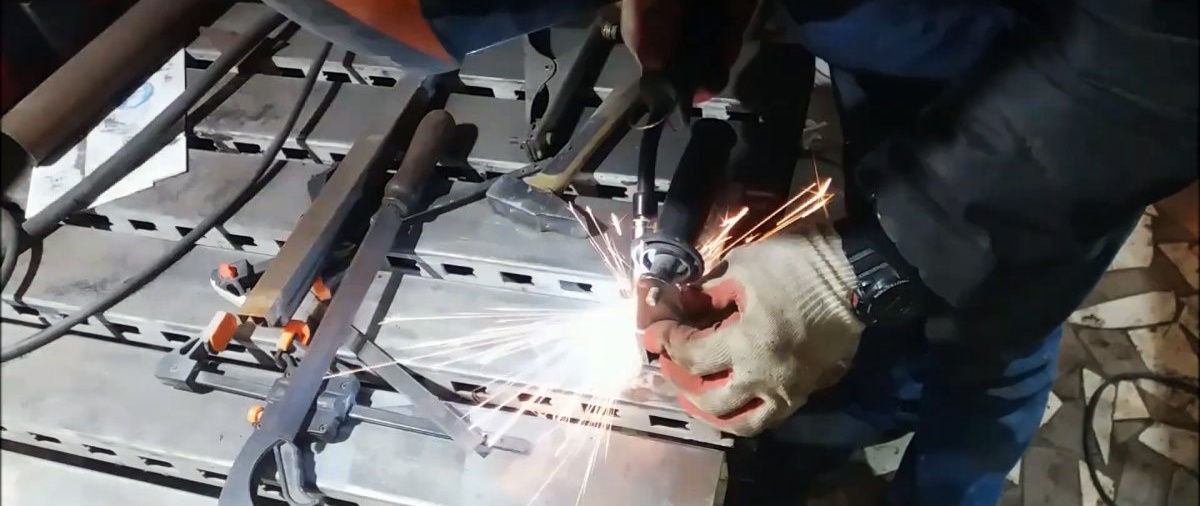
Underneath it is necessary to weld a larger square pipe that can slide on top. It is welded from 4 blanks cut from strip or sheet metal.
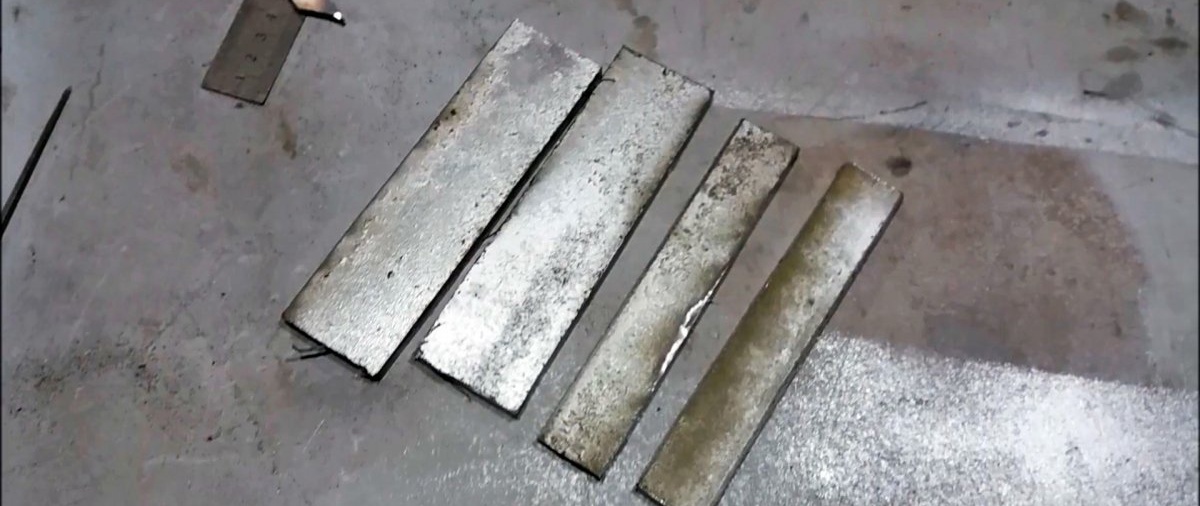
The length of the sliding pipe should be 2 times shorter than the guide.
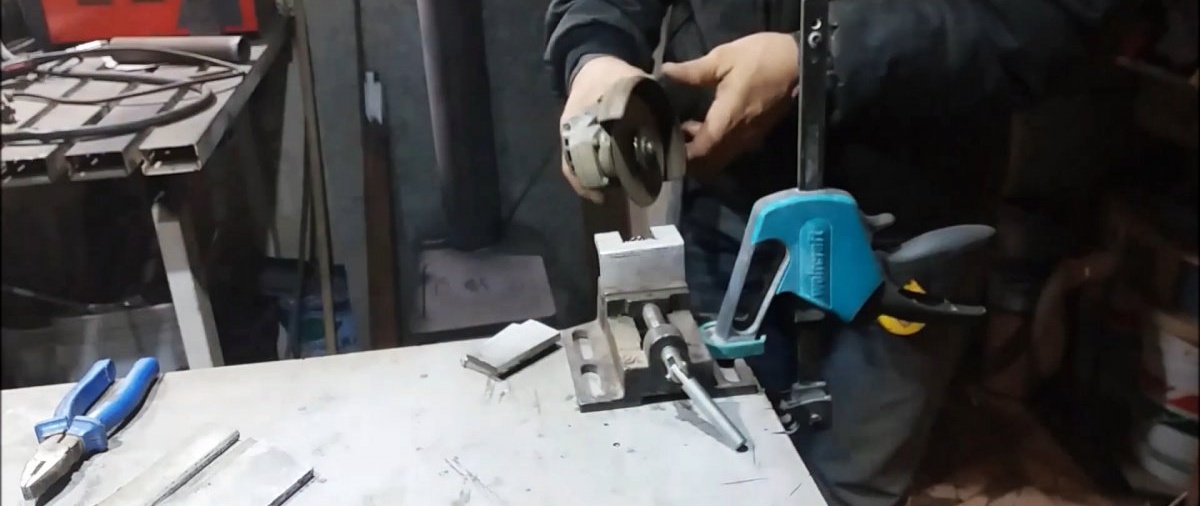
An eyelet from a corner is welded to the sliding pipe. A hole is made in it, and a thread is cut to screw in the handle from the grinder.


A strip blade is welded to one edge of the main pipe, which will cling to the end of the tile. It should be wide for a sufficient area of contact with the tile, which will prevent splitting when tamping.
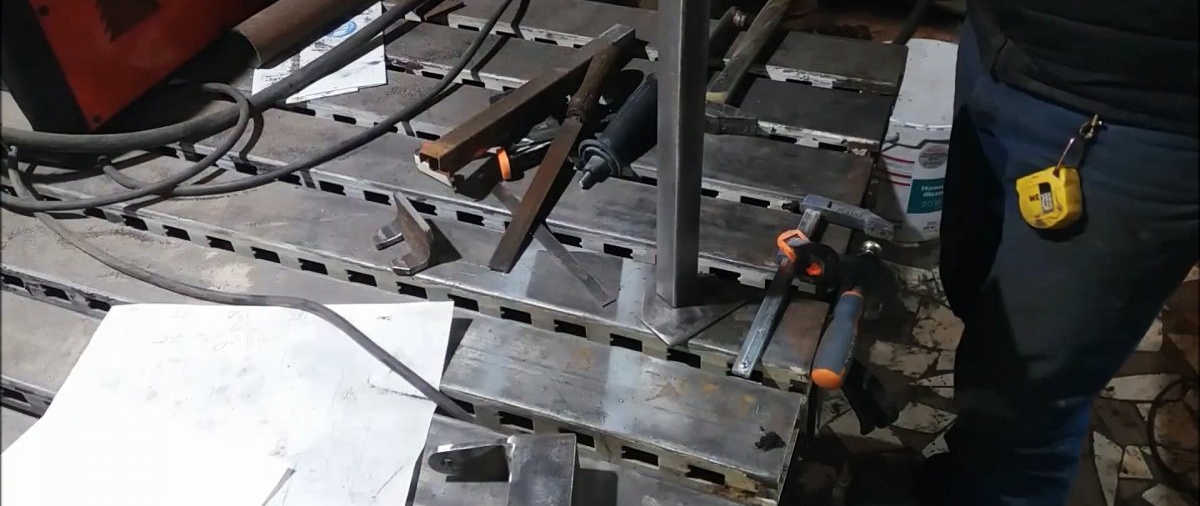
Next, a sliding pipe is put on the guide, and a corner stop is welded onto its remaining edge.
It will lie on the front side of the tile being tiled. The overhang of the stop should be at least 15 mm less than that of the catching blade. Next, a rubber pad is glued to the stop using glue or double-sided tape. It will prevent scratching and rubbing of the front surface of the tile.
The resulting instrument should be painted.

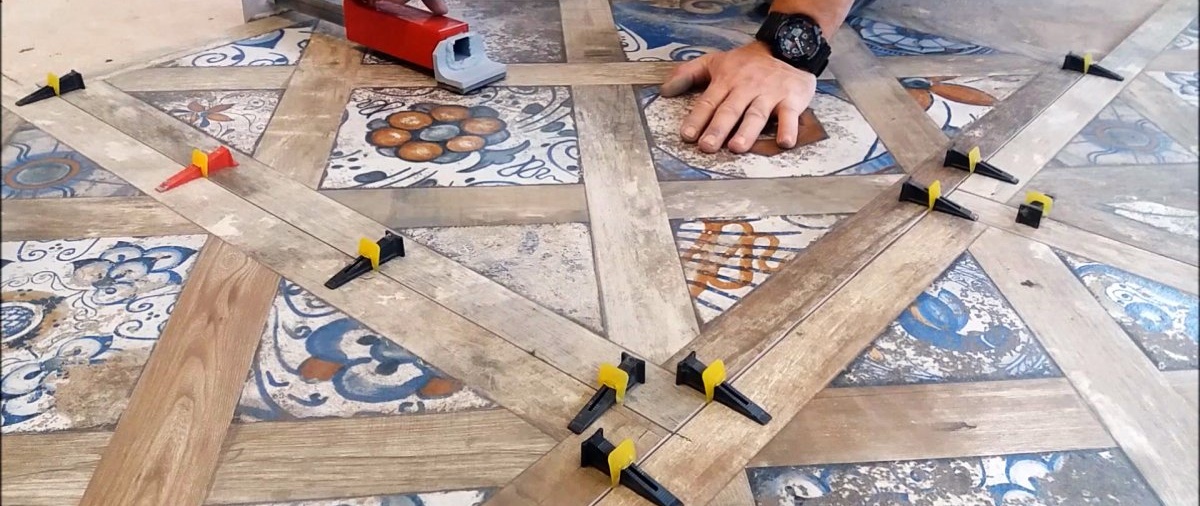
For better sliding and to avoid metallic grinding, it does not hurt to lubricate the guide pipe. A homemade reverse hammer can be used not only when laying tiles, but also laminate flooring. They are comfortable to work on both floors and walls.