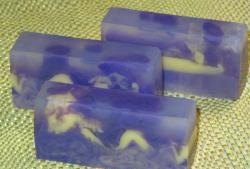
Our master class is dedicated to those who want to master the technology of making such soap.
So, we will make “Piece of Cake” soap.
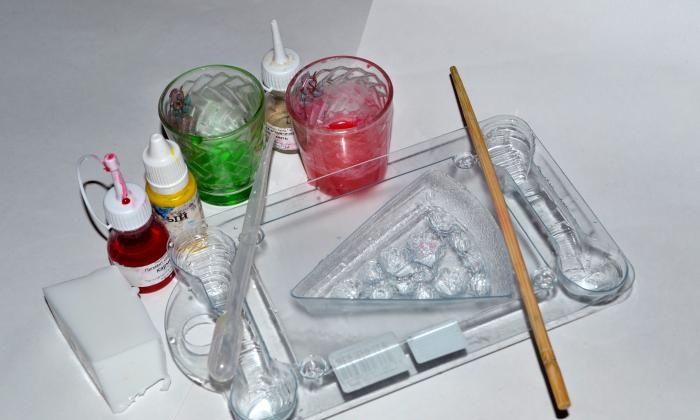
To prepare it we will need:
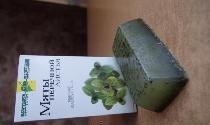
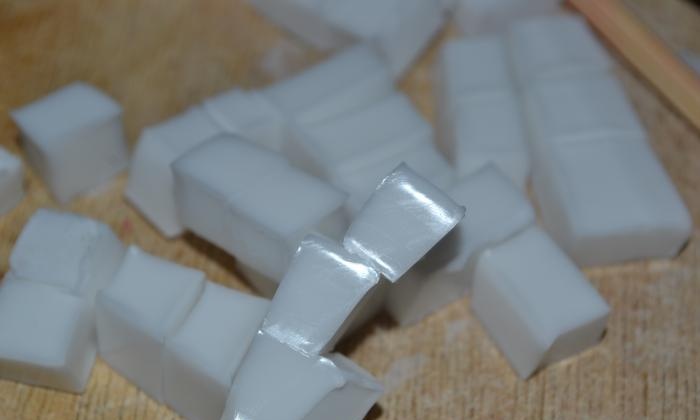
- Mold “Piece of Cake”. In our case, this is a professional form that has 4 supports, so we don’t need to look for additional holding devices. White (70g) and transparent (20g) soap bases. The exact amount of base depends on the mold.
- Fragrance.
- Dyes (green, red)
- Stirring stick.
- Toothpick.
- Alcohol or special liquid to remove bubbles.
- Pasteur pipette.
- A glass of boiling water.
So let's get to work.
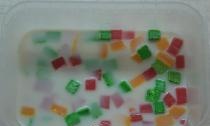
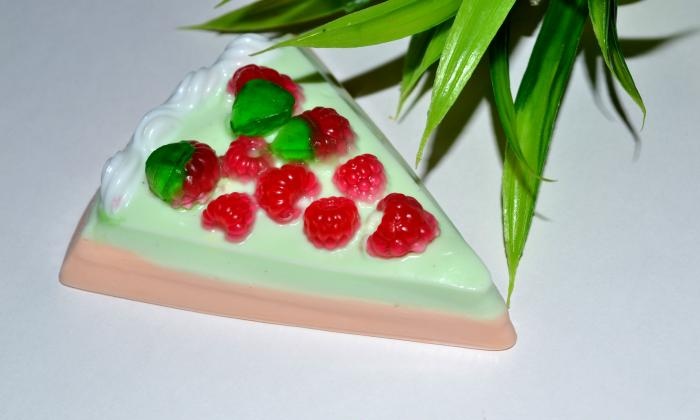
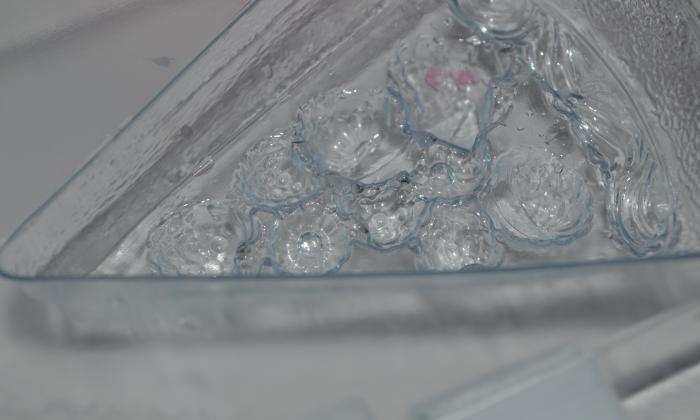
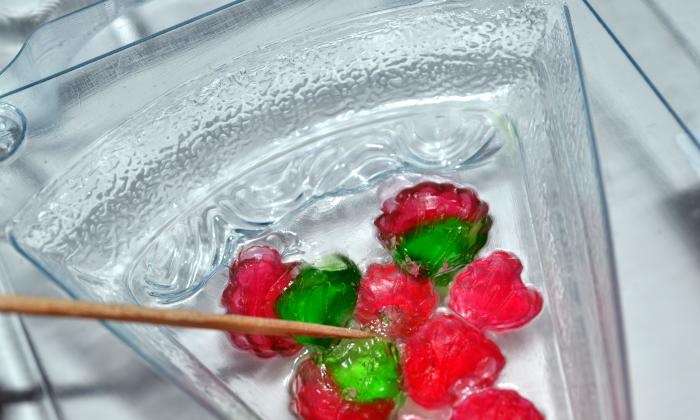
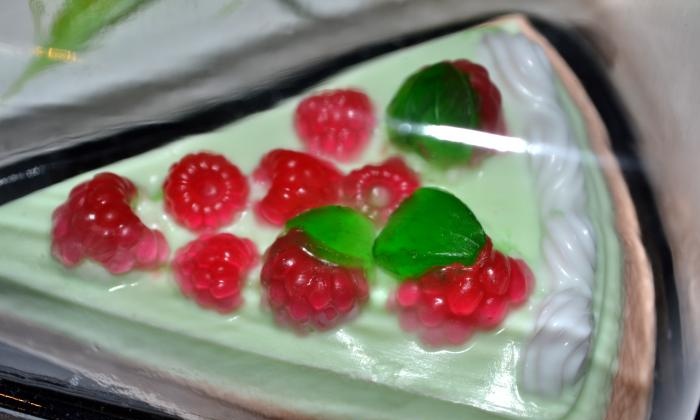
Let's start by filling in the small details.In our case, these are berries, leaves and cream on the surface of the cake.
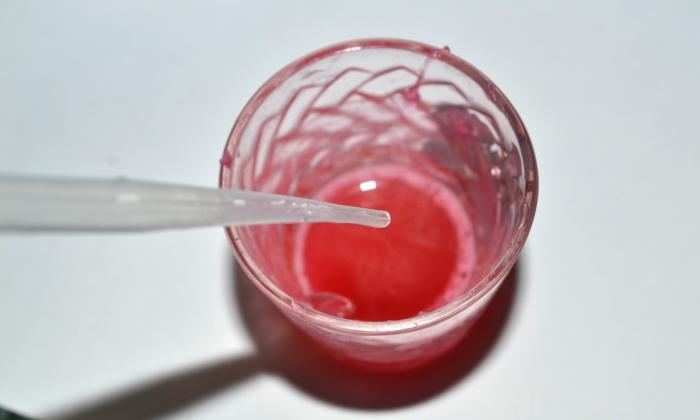
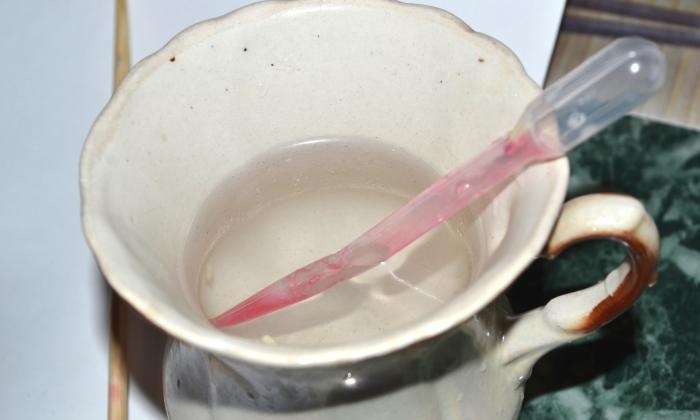
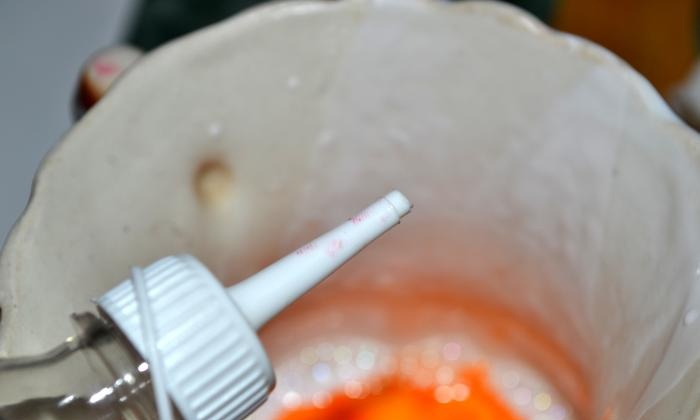
Step 1. Melt the transparent base and add red pigment to it.
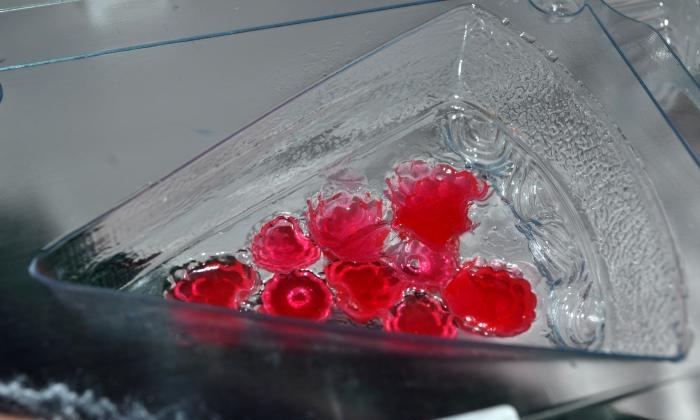
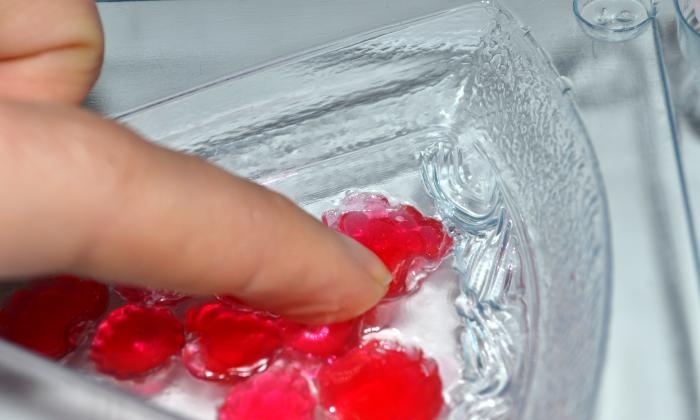
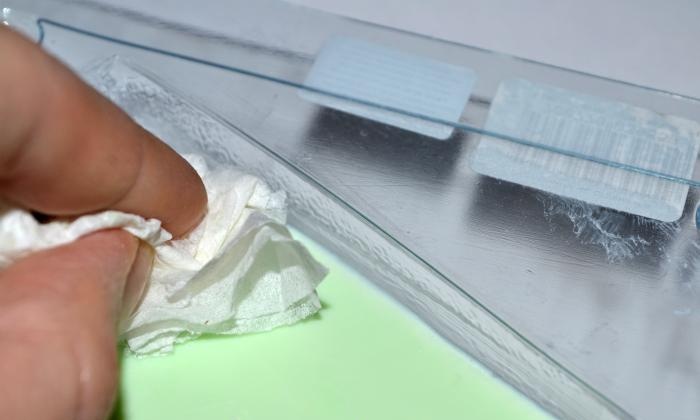
Let's take the red base into a pipette and fill all the niches under the berries. We can easily correct any excess, first with a toothpick, then with a paper napkin.
Please note that the base in the pipette quickly hardens and becomes impossible to use. In order to clean the pipette, we need boiling water. We lower the pipette into the glass, then clean it by pressing the tip several times.
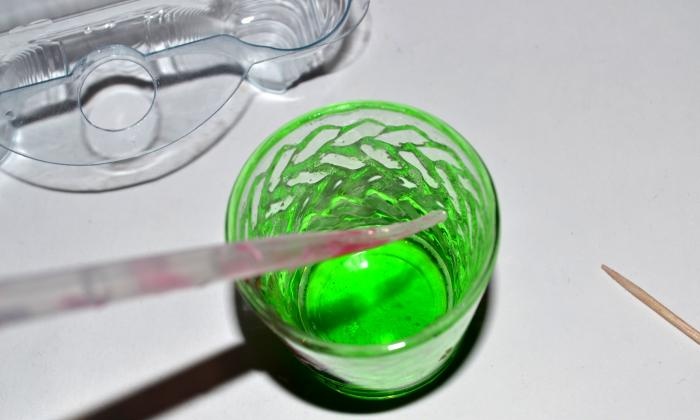
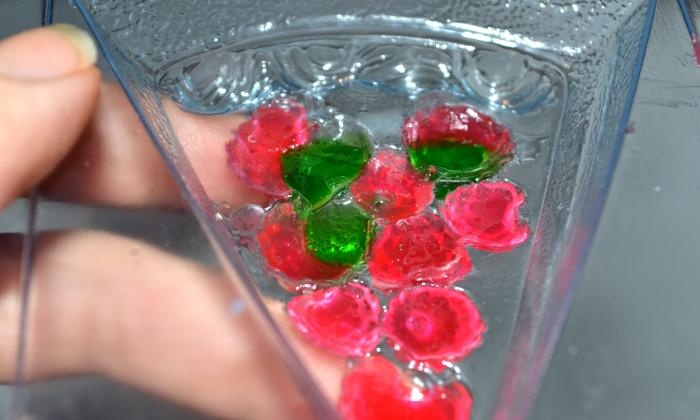
Step 2. Fill the leaves. We melt the transparent base and paint it with green pigment. We repeat the same steps as when pouring berries. We clean the pipette by lowering it into a glass of boiling water.
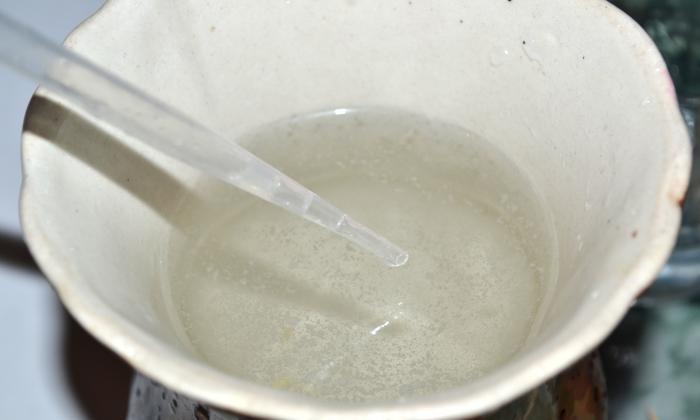
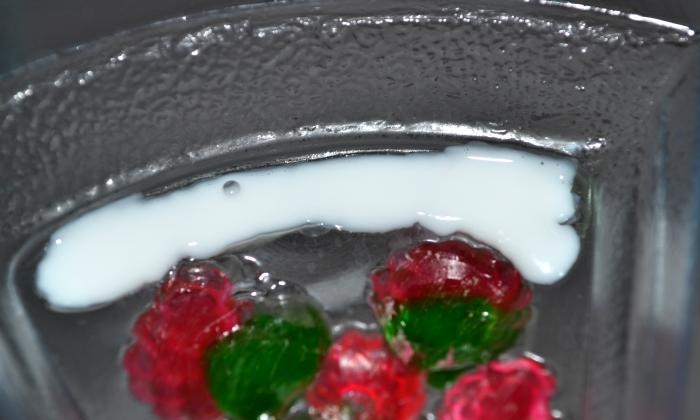
Step 3. We fill the cream on our cake. Melt the white base and use a pipette to carefully pour it into the recess. Remove excess with a toothpick and napkin. Wait 5-10 minutes for the base to harden.
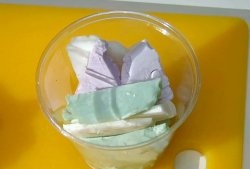
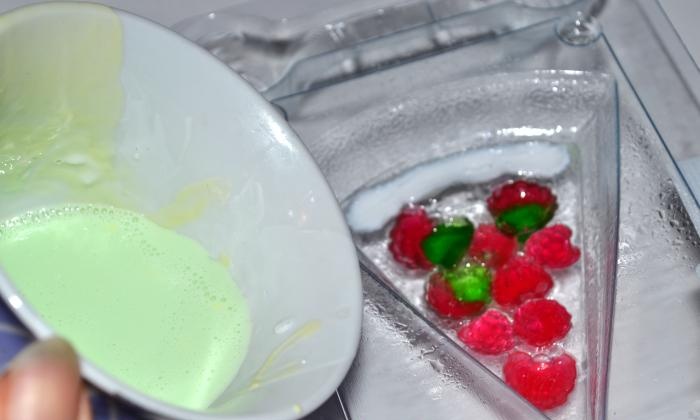
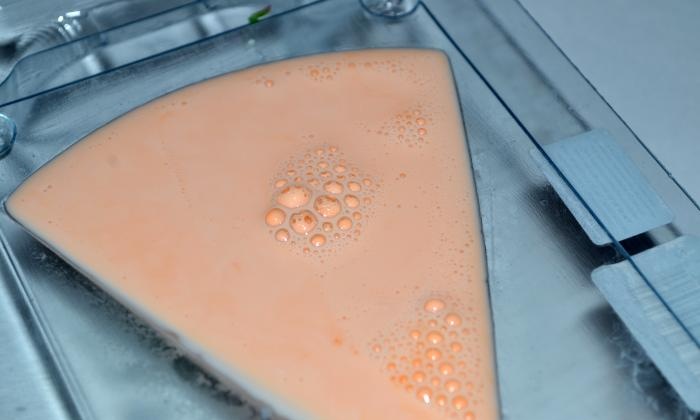
Step 4. Let's start pouring the top layer of our soap. To do this, you need to melt about 30 g of white base. Add a dye, in our case green, and a fragrance.
The base is still too hot to pour into the mold. Therefore, while it is cooling, it is necessary to prepare small parts for better bonding with the next layer. To do this, we scratch lines on the surface of our berries and leaves, then sprinkle them generously with alcohol.
Pour out the colored and slightly cooled base. Remove bubbles with alcohol. We wait about 30 minutes.
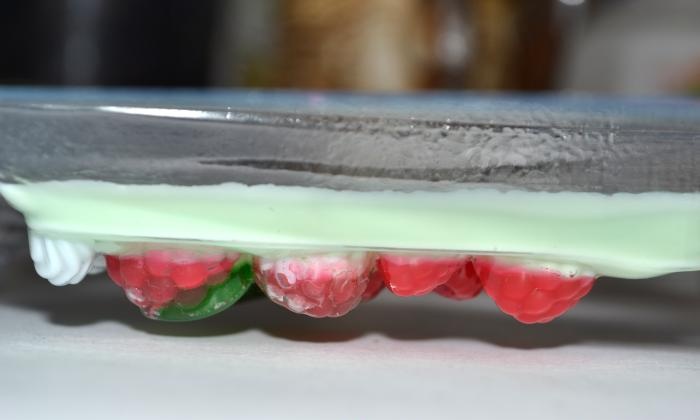
Step 5. After half an hour, the layer froze. Depending on the type of base, it may take longer to harden.
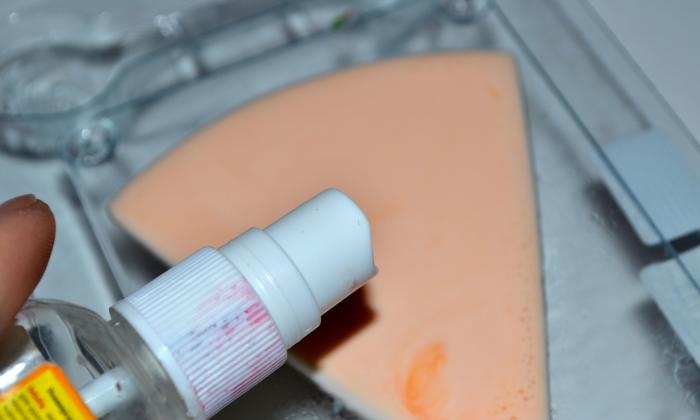
Scratch the frozen layer and spray with alcohol.
Melt about 30 g of white base, color it, add fragrance.Let cool slightly and pour into a mold. Remove air bubbles with alcohol.
Step 6. To better bond the layers, we leave our soap to cool at room temperature. As soon as the top layer has completely hardened, remove the soap from the mold.
The mold is made of plastic and also has many small parts and indentations. Therefore, it may be difficult to remove the finished soap. To make work easier, place the mold in the freezer for a couple of minutes.
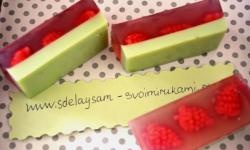
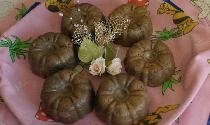
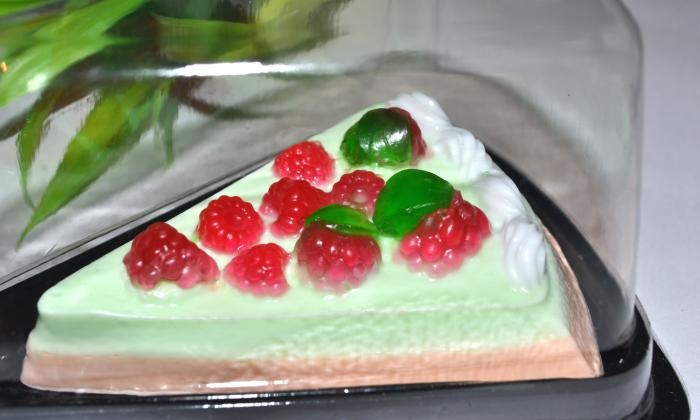
So, our soap is ready! All uneven edges should be immediately corrected with a paper napkin. Otherwise, soon the soap will completely harden and you won’t be able to change anything about it. We send the cake soap to dry for a day at room temperature, and then wrap it with cling film.
We have created a beautiful, fragrant, unique soap! It will certainly please anyone who receives it. present.
Good luck and creative success!